- Home
- Services
- IVY
- Portfolio
- Game Dev
- Blogs
- About Us
- Contact Us
- Sun-Tue (9:00 am-7.00 pm)
- infoaploxn@gmail.com
- +91 656 786 53

Next.js is mostly associated with static generation, SSR, and page rendering. Real-time, on the other hand, is usually tied to persistent connections, long polling, or WebSockets stuff that seems at odds with a framework designed for caching and edge delivery.
But thanks to API routes, edge functions, and Server Actions, you can absolutely bring real-time interactivity into Next.js.
This is the most direct way to go real-time. You set up a WebSocket server and connect to it from your client.
Step 1: Setup a WebSocket Server Create a basic WebSocket server using ws:
// server.js
const WebSocket = require(’ws’);
const server = new WebSocket.Server({ port: 3001 });

server.on(’connection’, (ws) => {
 ws.send(’Connected!’);
 ws.on(’message’, (message) => {
   console.log(’Received:’, message);
 });
});
Step 2: Connect from your Next.js app
useEffect(() => {
 const socket = new WebSocket(’ws://localhost:3001’);
 socket.onmessage = (e) => {
   console.log(’Message from server:’, e.data);
 };
 return () => socket.close();
}, []);
If you don’t want to manage your own WebSocket server (I get it, been there), Pusher and Ably are lifesavers.
// Client
import Pusher from ’pusher-js’;
const pusher = new Pusher(’YOURAPPKEY’, {
 cluster: ’YOUR_CLUSTER’,
});

const channel = pusher.subscribe(’my-channel’);
channel.bind(’my-event’, (data) => {
 console.log(’Received update:’, data);
});
import Pusher from ’pusher’;
const pusher = new Pusher({
 appId: ’APP_ID’,
 key: ’APP_KEY’,
 secret: ’APP_SECRET’,
 cluster: ’YOUR_CLUSTER’,
 useTLS: true,
});
await pusher.trigger(’my-channel’, ’my-event’, {
 message: ’Hello from server’,
});
If you’re using Next.js 14+, Server Actions are another way to streamline dynamic behavior.
Here’s how I used Server Actions with a polling mechanism for chat-like updates:
’use server’;
export async function fetchLatestMessages() {
 const res = await fetch(’https://api.myapp.com/messages’);
 return res.json();
}
Add polling or refetch logic with setInterval, or use SWR/React Query for revalidation.
Not truly real-time—but for low-frequency updates, it gets the job done without setting up sockets.
Sometimes, you don’t need WebSockets. You just need frequent updates, that’s where swr shines.
const { data } = useSWR(’/api/messages’, fetcher, {
 refreshInterval: 5000, // Refetch every 5 seconds
});
Real-time feedback doesn’t always need sockets. You can use middleware or edge functions to provide near-instant validations (like form checking or route access).
// middleware.ts
export function middleware(req) {
 const isAuthenticated = checkSession(req);
 if (!isAuthenticated) return NextResponse.redirect(’/login’);
 return NextResponse.next();
}
Real-time features don’t have to feel out of place in Next.js. Whether you go low-level with WebSockets, use a service like Pusher, or fake it with smart polling, there’s always a way to get the job done.
For me, the breakthrough came when I realized that "real-time" doesn’t mean just one thing. It’s about choosing the right level of freshness based on what your users need
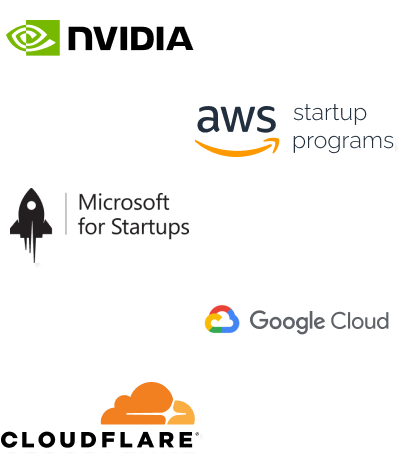
Imagine reducing your operational costs by up to $100,000 annually without compromising on the technology you rely on. Through our partnerships with leading cloud and technology providers like AWS (Amazon Web Services), Google Cloud Platform (GCP), Microsoft Azure, and Nvidia Inception, we can help you secure up to $25,000 in credits over two years (subject to approval).
These credits can cover essential server fees and offer additional perks, such as:
By leveraging these credits, you can significantly optimize your operational expenses. Whether you're a startup or a growing business, the savings from these partnerships ranging from $5,000 to $100,000 annually can make a huge difference in scaling your business efficiently.
The approval process requires company registration and meeting specific requirements, but we provide full support to guide you through every step. Start saving on your cloud infrastructure today and unlock the full potential of your business.