- Home
- Services
- IVY
- Portfolio
- Game Dev
- Blogs
- About Us
- Contact Us
- Sun-Tue (9:00 am-7.00 pm)
- infoaploxn@gmail.com
- +91 656 786 53
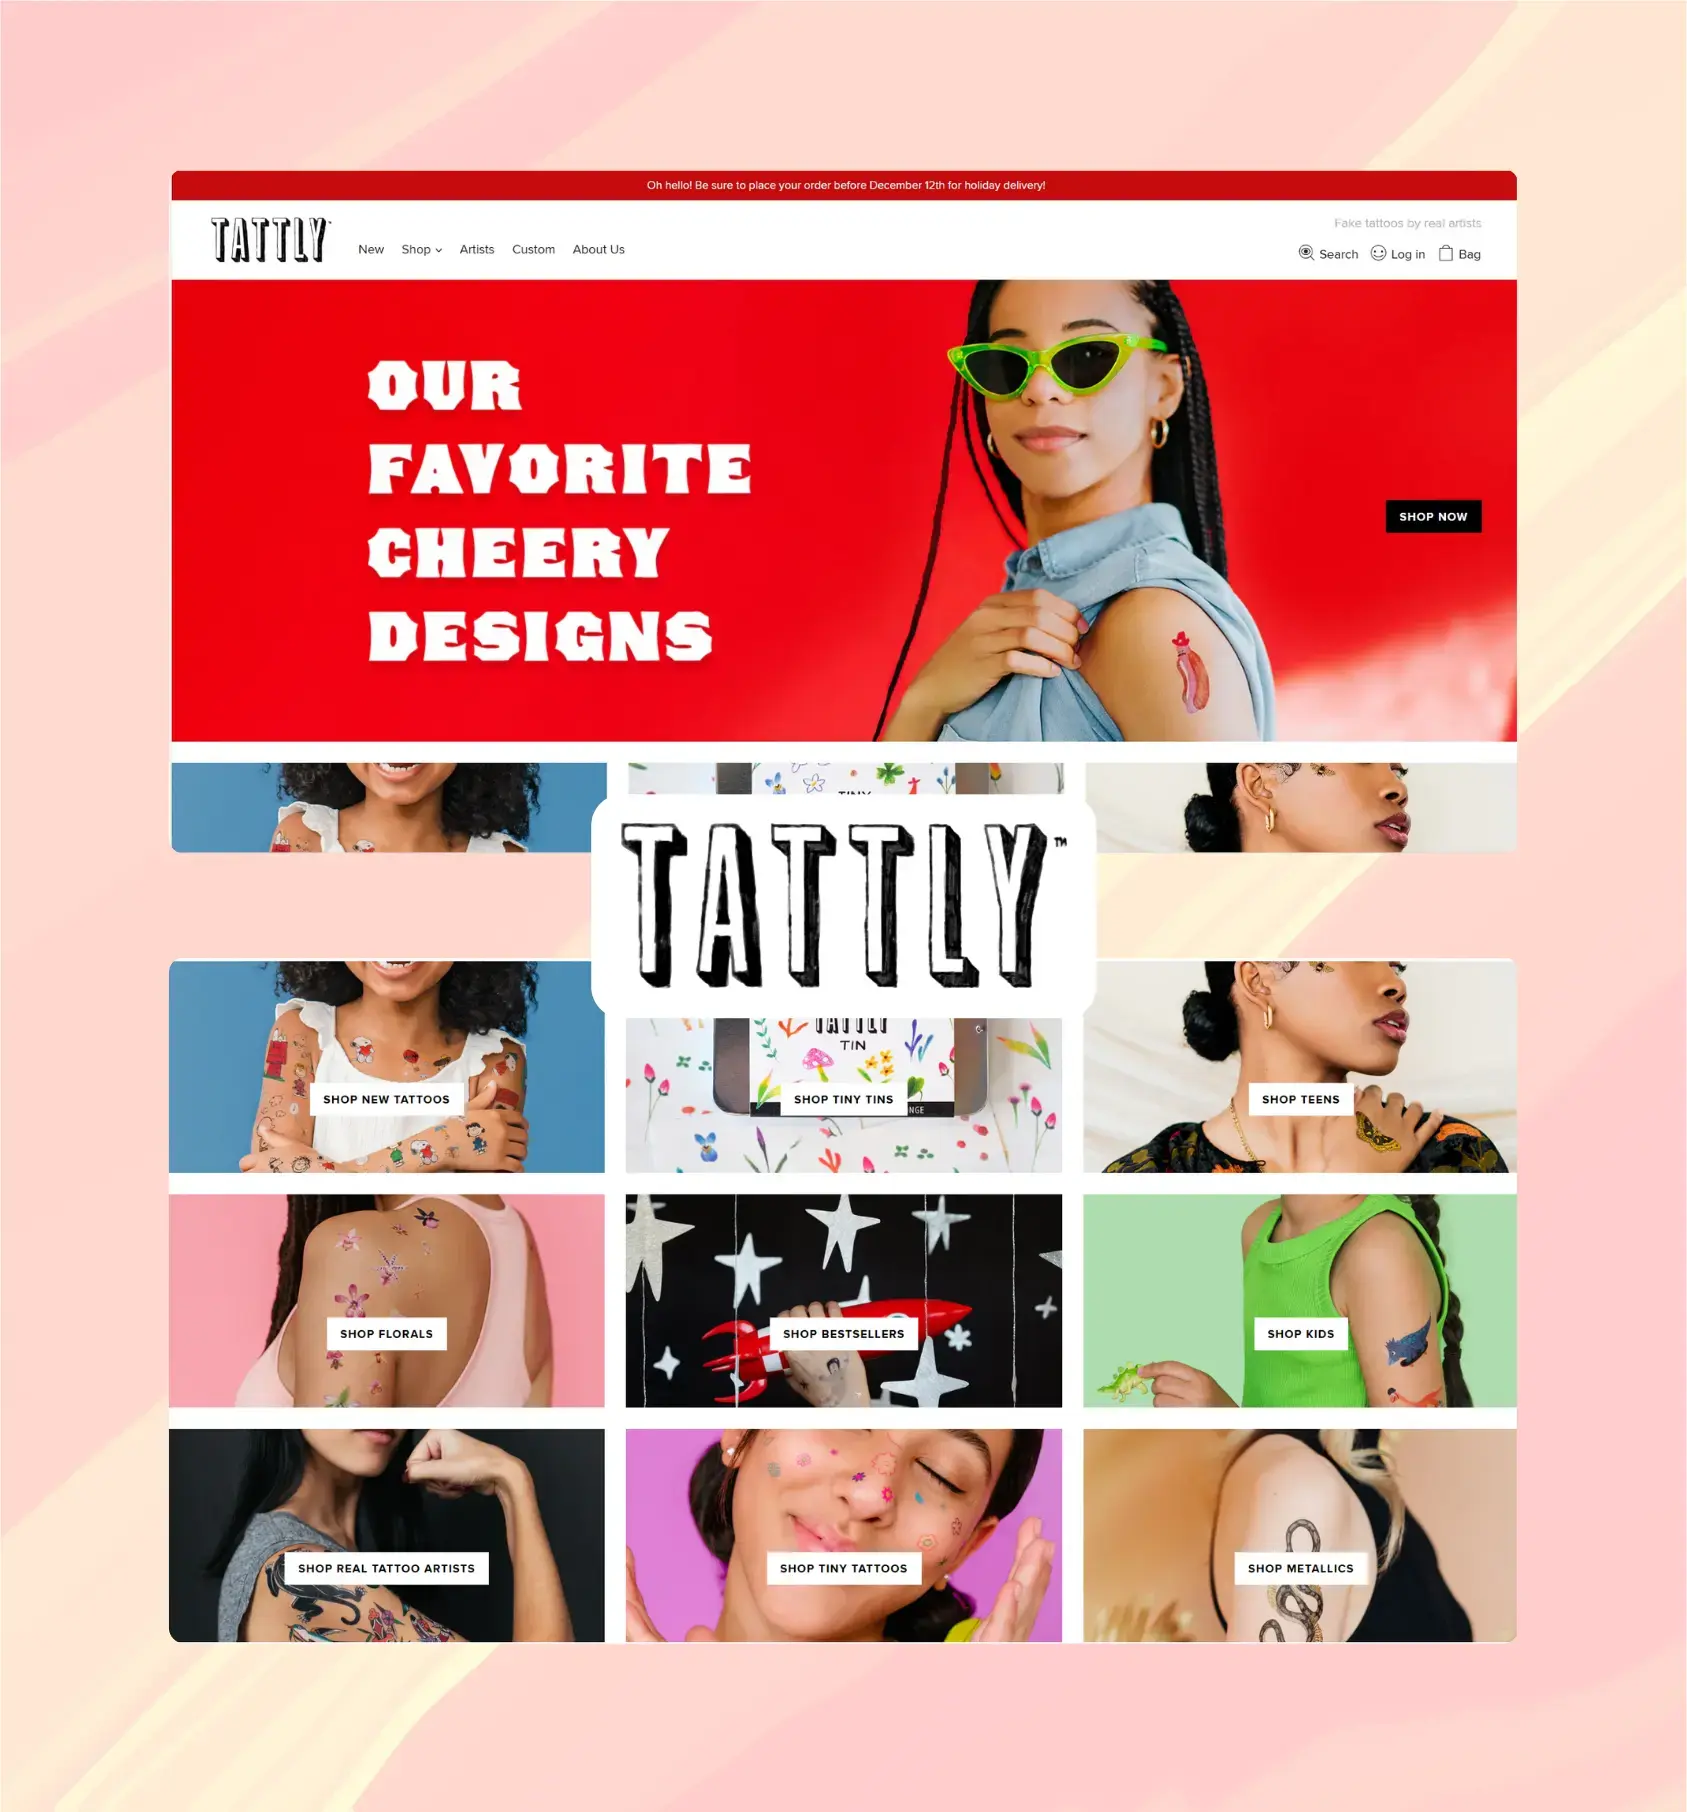
When we built the custom Shopify website for Underdog Apparel, founded by NFL legend Jason Kelce, Liquid became the backbone of our development workflow. From powering dynamic product displays to designing reusable components that scale with the brand, Liquid helped us bring a bold, Philly-rooted eCommerce experience to life.
Whether you're a Shopify beginner or a seasoned developer, mastering Liquid unlocks the full potential of your storefront. This guide walks you through how to work with Custom Liquid—from setting up your dev environment to building performant, modular codebases—using real-world lessons from the Underdog Apparel build.
Liquid is Shopify’s way of letting you tap into store data—products, collections, customers—and render it cleanly on the front end. Think of it as a blend between HTML and logic: powerful enough to build custom layouts, lightweight enough to not break things.
For Underdog Apparel, it gave us full control to customize everything—from showing a discount on the product card to powering dynamic shop sections like “New Arrivals” and “Underdog by American Giant.”
Before diving into Liquid, let’s first set up the environment that will allow us to build and test Shopify themes efficiently.
The Shopify CLI (Command Line Interface) is a must-have tool for local development. It allows you to interact with your Shopify store directly from the command line, making it easy to push code changes without manually uploading files.
Here’s how to get started:
While any code editor can work, I highly recommend Visual Studio Code (VS Code). It offers features like:
Once the Shopify CLI is set up, you can clone your theme and begin making changes locally. Here’s a basic command to get started:
shopify theme pull
This will download the theme files from your store, allowing you to edit them on your local machine.
With your development environment in place, you’re ready to start coding with Liquid!
Liquid provides various built-in objects that allow you to pull data from Shopify’s backend and use it in your templates. Some of the most commonly used objects are:
Let’s say you want to display a product’s title and price. Here’s how you can do it with Liquid:
 <h1>{{ product.title }}</h1>

 <p>{{ product.price | money }}</p>
In this example:
If you want to display the products within a specific collection, you can use the collection object like this:
<ul>

    {% for product in collection.products %}

      <li>{{ product.title }}</li>

    {% endfor %}

</ul>
This loops through all the products in a collection and displays their titles in an unordered list.
Liquid provides tags that help you control the flow of data and structure your templates dynamically. These tags are wrapped in {% %}.
The if tag allows you to run conditional logic in your templates. For example, if a product is on sale, you might want to display a special message:
{% if product.compareatprice > product.price %}

<p>This product is on sale!</p>

{% else %}

  <p>No sale currently.</p>

{% endif %}
The for tag lets you loop through collections, arrays, or ranges. For example, you can loop through products in a collection:
<ul>

   {% for product in collection.products %}

      <li>{{ product.title }} - {{ product.price | money }}</li>

   {% endfor %}

</ul>
The assign tag allows you to create variables that can be reused throughout your template:
{% assign discount = product.compareatprice | minus: product.price %}

<p>Discount: {{ discount | money }}</p>
This calculates the discount and displays it formatted as currency.
Filters in Liquid allow you to manipulate or format data before it’s rendered. These are essential for formatting strings, dates, prices, and more.
The date filter formats dates:
{{ order.created_at | date: "%B %d, %Y" }}
This would format the order creation date to something like "April 06, 2025".
{{ product.price | money }}
This ensures that the price is displayed in the correct currency format.
To capitalize the first letter of each word in a string:
This will output "Hello World".
Snippets are reusable pieces of Liquid code that you can include in other templates. This helps reduce redundancy and keeps your code clean.
Create a file called product-price.liquid inside your snippets folder:
<!-- snippets/product-price.liquid -->

 <p>{{ product.price | money }}</p>

 {% if product.compareatprice > product.price %}

 <span class="discount">Save {{ product.compareatprice | minus: product.price | money }}</span>

 {% endif %}
Now, you can include this snippet in any template:
{% include ’product-price’ %}
This makes it easy to display the price and discount for products across multiple templates.
Use whitespace and comments to make your code readable and maintainable:
{%- comment -%}

      This block displays the product’s price with a discount.

 {%- endcomment -%}
Try to limit complex logic inside templates. For better performance, handle complex logic on the backend or through Shopify apps.
Loops that iterate over large collections can slow down page loads, especially on high-traffic pages. Use pagination or lazy loading where possible.
Create snippets for any piece of code that gets reused frequently. This keeps your code DRY (Don’t Repeat Yourself) and more manageable.
Even seasoned developers encounter issues with Liquid. Here are some common errors and how to address them:
If you try to access a variable that doesn’t exist, you’ll get an error. Always check for the existence of variables:
{% if product %}

  <h1>{{ product.title }}</h1>

{% else %}

  <p>Product not found.</p>

{% endif %}
Liquid is sensitive to syntax. Make sure your {% %} tags and {{ }} output statements are correctly closed. Missing tags can break your templates.
If you notice slow page loads, consider optimizing your loops, reducing the number of API calls, or implementing caching strategies.
Imagine reducing your operational costs by up to $100,000 annually without compromising on the technology you rely on. Through our partnerships with leading cloud and technology providers like AWS (Amazon Web Services), Google Cloud Platform (GCP), Microsoft Azure, and Nvidia Inception, we can help you secure up to $25,000 in credits over two years (subject to approval).
These credits can cover essential server fees and offer additional perks, such as:
By leveraging these credits, you can significantly optimize your operational expenses. Whether you're a startup or a growing business, the savings from these partnerships ranging from $5,000 to $100,000 annually can make a huge difference in scaling your business efficiently.
The approval process requires company registration and meeting specific requirements, but we provide full support to guide you through every step. Start saving on your cloud infrastructure today and unlock the full potential of your business.