- Home
- Services
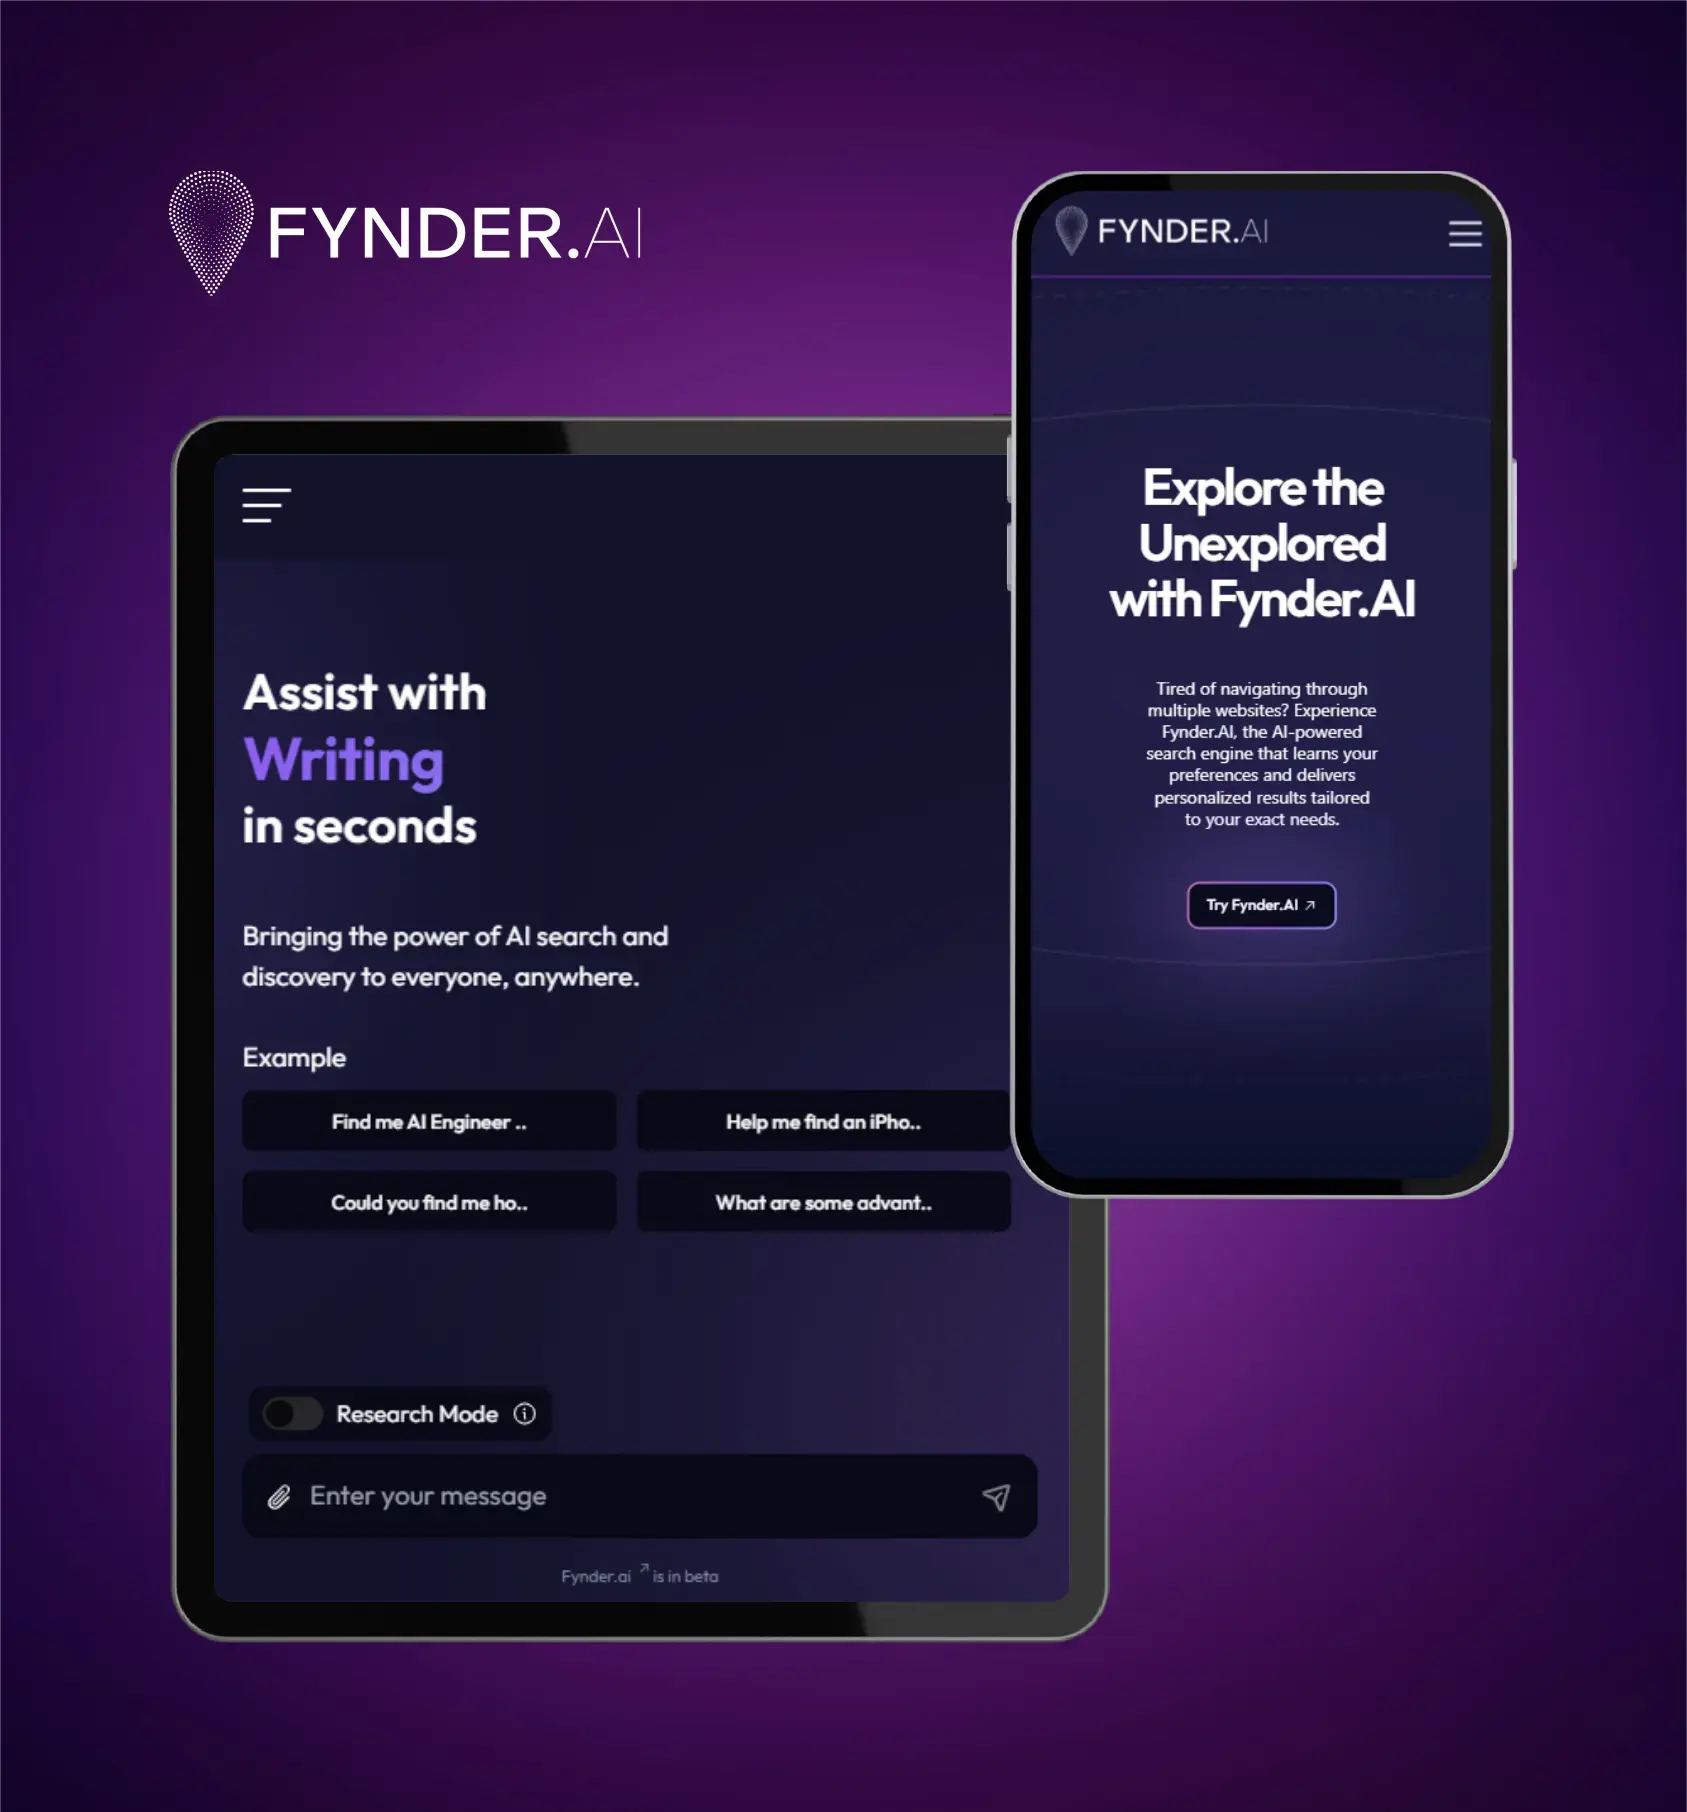
- IVY
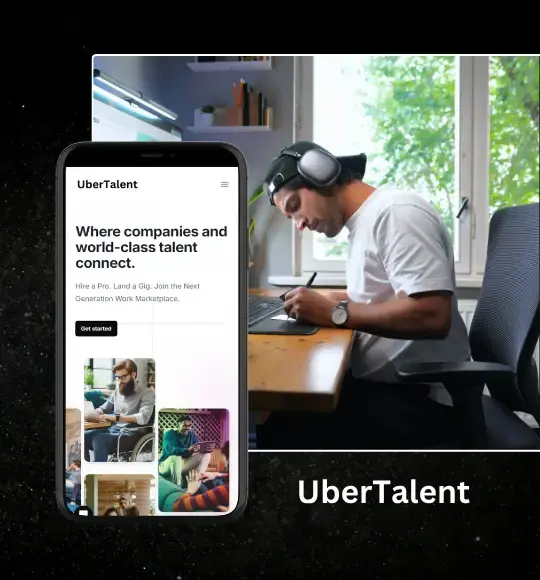
- Portfolio
- Game Dev
- Blogs
- About Us
- Contact Us
- Sun-Tue (9:00 am-7.00 pm)
- infoaploxn@gmail.com
- +91 656 786 53
Imagine this: you’re using an app in a remote area, far from any Wi-Fi connection. Suddenly, the app freezes or crashes, leaving you frustrated. Many apps depend on a constant internet connection, which can lead to poor user experiences. But what if your app could work seamlessly even without an internet connection?
In this blog, I’ll guide you step-by-step on how to build offline-first Flutter apps. Using a simple To-Do app as an example, we’ll explore how to store data locally and sync it with the server when connectivity is restored. By the end, you’ll be equipped to create apps that ensure a smooth experience—whether users are online or offline.
Understanding the challenges users face with online-dependent apps helps highlight the importance of offline functionality. Here are some common issues:
These issues emphasize the need for apps that provide reliability even when users are offline.
Adding offline functionality brings numerous benefits:
By building offline-first apps, you not only enhance user satisfaction but also make your app more versatile.
To implement offline functionality, you’ll need to leverage:
Flutter provides several solutions for local data storage:
Use the connectivityplus package to detect online and offline states and manage syncing accordingly.
Sync data with the server when a connection is available to ensure consistency between local and remote databases.
Create a new Flutter project:
flutter create offlinetodoapp
Navigate to your project folder:
cd offlinetodoapp
Add dependencies:
dependencies:

  flutter:

    sdk: flutter

  sqflite: ^2.0.0+4

  connectivity_plus: ^2.3.0

  fluttertoast: ^8.0.9
Install dependencies:
flutter pub get
Create a database_helper.dart file to handle database operations:
import ’package:sqflite/sqflite.dart’;

import ’package:path/path.dart’;

class DatabaseHelper {

  static Database? _database;

  static Future<Database> getDatabase() async {

    if (database != null) return database!;

    database = await initDatabase();

    return _database!;

  }
 static Future<Database> _initDatabase() async {

    String path = join(await getDatabasesPath(), ’tasks.db’);

    return await openDatabase(

      path,

      version: 1,

      onCreate: (db, version) async {

        await db.execute(

          ’CREATE TABLE tasks(id INTEGER PRIMARY KEY, title TEXT)’,

        );

      },

    );

  }

  static Future<void> addTask(String title) async {

    final db = await getDatabase();

    await db.insert(’tasks’, {’title’: title});

  }

  static Future<List<Map<String, dynamic>>> getTasks() async {

    final db = await getDatabase();

    return await db.query(’tasks’);

  }

  static Future<void> deleteTask(int taskId) async {

    final db = await getDatabase();

    await db.delete(’tasks’, where: ’id = ?’, whereArgs: [taskId]);

  }

}

  // Create or open the database

  static Future<Database> _initDatabase() async {

    String path = join(await getDatabasesPath(), ’tasks.db’);

    return await openDatabase(

      path,

      version: 1,

      onCreate: (db, version) async {

        // Create the tasks table

        await db.execute(

          ’CREATE TABLE tasks(id INTEGER PRIMARY KEY, title TEXT)’,

        );

      },

    );

  }


  // Add a task to the database

  static Future<void> addTask(String title) async {

    final db = await getDatabase();

    await db.insert(’tasks’, {’title’: title});

  }

  // Get all tasks from the database

  static Future<List<Map<String, dynamic>>> getTasks() async {

    final db = await getDatabase();

    return await db.query(’tasks’);

  }

  // Delete a task from the database

  static Future<void> deleteTask(int taskId) async {

    final db = await getDatabase();

    await db.delete(’tasks’, where: ’id = ?’, whereArgs: [taskId]);

  }

}
Set up the app’s main interface in main.dart:
import ’package:flutter/material.dart’;

import ’package:fluttertoast/fluttertoast.dart’;

import ’package:connectivityplus/connectivityplus.dart’;

import ’database/database_helper.dart’;

void main() {

  runApp(MyApp());

}

class MyApp extends StatelessWidget {

  @override

  Widget build(BuildContext context) {

    return MaterialApp(

      home: ToDoApp(),

    );

  }

}

class ToDoApp extends StatefulWidget {

  @override

  ToDoAppState createState() => ToDoAppState();

}

class _ToDoAppState extends State<ToDoApp> {

  final TextEditingController _taskController = TextEditingController();

  List<Map<String, dynamic>> _tasks = [];


  @override

  void initState() {

    super.initState();

    _loadTasks();

  }

  void _loadTasks() async {

    final tasks = await DatabaseHelper.getTasks();

    setState(() {

      _tasks = tasks;

    });

  }

  void _addTask() async {

    final title = _taskController.text;

    if (title.isNotEmpty) {

      await DatabaseHelper.addTask(title);

      setState(() {

        _tasks.add({’title’: title});

      });

      _taskController.clear();

      Fluttertoast.showToast(msg: ’Task added!’);

    }

  }


  void _syncTasks() async {

    final isConnected = await Connectivity().checkConnectivity() != ConnectivityResult.none;

    if (isConnected) {

      Fluttertoast.showToast(msg: ’Syncing tasks with server...’);

      // Simulate server sync here.

    } else {

      Fluttertoast.showToast(msg: ’No internet connection.’);

    }

  }

  @override

  Widget build(BuildContext context) {

    return Scaffold(

      appBar: AppBar(title: Text(’Offline To-Do App’)),

      body: Padding(

        padding: const EdgeInsets.all(16.0),

        child: Column(

          children: [

            TextField(

              controller: _taskController,

              decoration: InputDecoration(labelText: ’Enter Task’),

            ),

            SizedBox(height: 10),

            ElevatedButton(

              onPressed: _addTask,

              child: Text(’Add Task’),

            ),

            ElevatedButton(

              onPressed: _syncTasks,

              child: Text(’Sync Tasks’),

            ),

            Expanded(

              child: ListView.builder(

                itemCount: _tasks.length,

                itemBuilder: (context, index) {

                  return ListTile(

                    title: Text(_tasks[index][’title’]),

                  );

                },

              ),

            ),

          ],

        ),

      ),

    );

  }
}
Building offline-capable apps ensures users enjoy a seamless experience regardless of their connectivity. By leveraging local storage and syncing strategies, Flutter empowers developers to create resilient and user-friendly apps.
Start implementing offline-first features today and make your app indispensable for users everywhere!
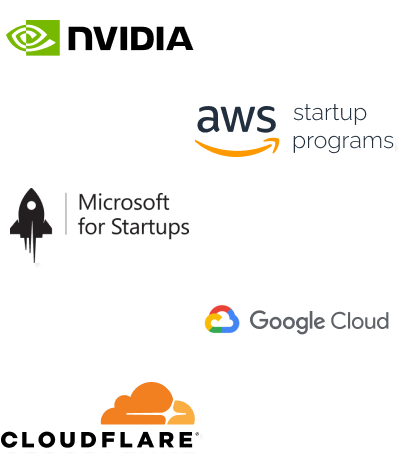
Imagine reducing your operational costs by up to $100,000 annually without compromising on the technology you rely on. Through our partnerships with leading cloud and technology providers like AWS (Amazon Web Services), Google Cloud Platform (GCP), Microsoft Azure, and Nvidia Inception, we can help you secure up to $25,000 in credits over two years (subject to approval).
These credits can cover essential server fees and offer additional perks, such as:
By leveraging these credits, you can significantly optimize your operational expenses. Whether you're a startup or a growing business, the savings from these partnerships ranging from $5,000 to $100,000 annually can make a huge difference in scaling your business efficiently.
The approval process requires company registration and meeting specific requirements, but we provide full support to guide you through every step. Start saving on your cloud infrastructure today and unlock the full potential of your business.