- Home
- Services
- IVY
- Portfolio
- Game Dev
- Blogs
- About Us
- Contact Us
- Sun-Tue (9:00 am-7.00 pm)
- infoaploxn@gmail.com
- +91 656 786 53
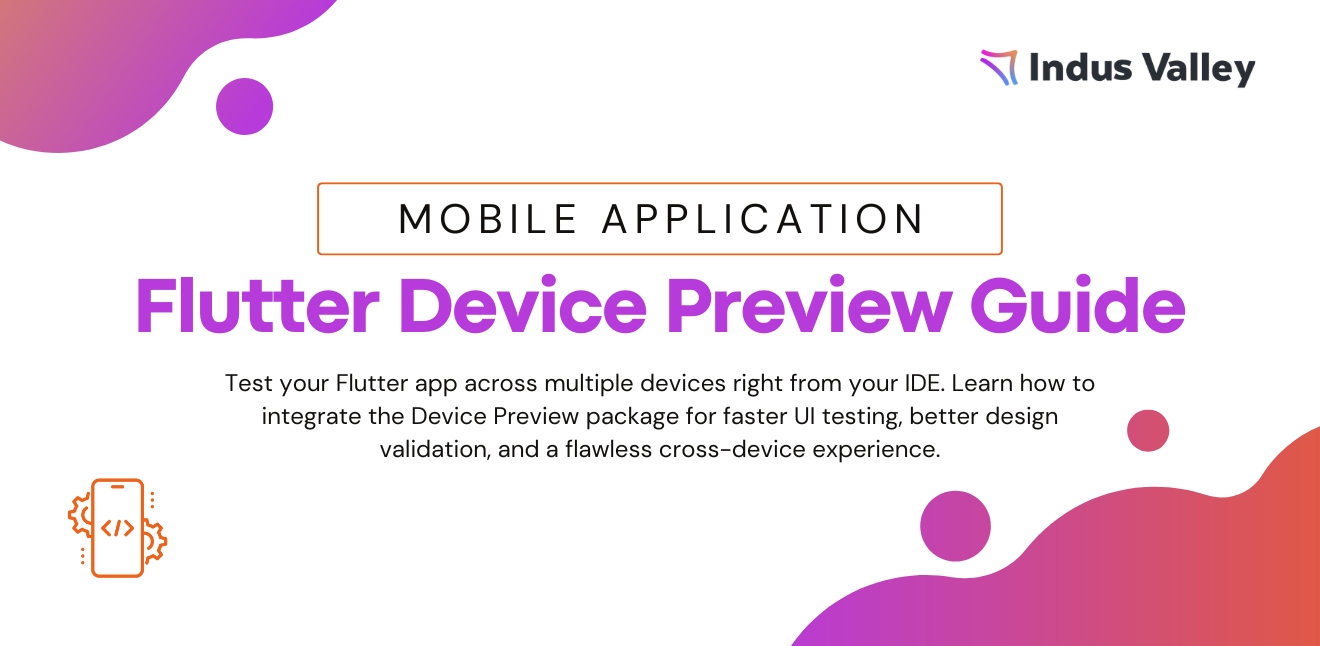
Flutter has revolutionized mobile application development with its ability to provide cross-platform solutions for both Android and iOS. However, one of the challenges Flutter developers often face is ensuring that their app’s UI looks great on a wide variety of devices with different screen sizes, resolutions, and aspect ratios. The Device Preview package offers an excellent solution to this problem by allowing developers to preview how their app will look on multiple devices simultaneously during development.
In this blog, we will explore how to use the Device Preview package to view your Flutter application on different devices, providing you with a seamless way to test and optimize your app’s UI.
The Device Preview package is a tool in Flutter that allows you to simulate how your app will appear on various devices right from your development environment. By integrating this package into your Flutter project, you can preview your app’s UI on several devices of different screen sizes and configurations. It is extremely useful for ensuring that your app’s design adapts well to a wide range of devices without having to manually test it on each one.
Now, let’s dive into how to implement Device Preview in your Flutter project.
To begin using the Device Preview package, you first need to add it to your pubspec.yaml file. Here’s how you can do that:
dependencies:
  flutter:
    sdk: flutter
  device_preview: ^0.7.0
Make sure to check for the latest version of the package on pub.dev to ensure you’re using the most up-to-date version.
In your main Flutter file (usually main.dart), import the device_preview package.
import ’package:flutter/material.dart’;
import ’package:devicepreview/devicepreview.dart’;
import ’package:yourprojectname/app.dart’;  // Import your app’s root widget
The key to using the Device Preview package is wrapping your root application widget with DevicePreview. This can be done inside your main() method.
void main() {
  runApp(
    DevicePreview(
      enabled: true, // Set to false to disable device preview
      builder: (context) => MyApp(), // Your root widget
    ),
  );
}
In this example, we have enabled the device preview by setting enabled: true. This will display the device preview on the screen as soon as the app is launched.
By default, Device Preview provides a wide range of devices to choose from, but you may want to customize the device you want to preview your app on. You can configure the device type (e.g., iPhone 12, Pixel 4), orientation (portrait or landscape), and other parameters such as screen size and pixel density.
Here’s how you can customize the device preview:
DevicePreview(
  enabled: true,
  builder: (context) => MaterialApp(
    locale: DevicePreview.locale(context), // Optional: Localize app based on the device preview language
    theme: ThemeData.dark(), // Optional: Use a theme
    home: MyApp(),
  ),
  devices: [
    DeviceInfo(
      name: ’Pixel 4’,
      screenSize: Size(412, 869), // Custom screen size
      devicePixelRatio: 3.0, // Pixel density
      isTablet: false, // If the device is a tablet
    ),
  ],
)
In this code, we specify a custom Pixel 4 device with a custom screen size and pixel density. You can find all device specifications on various online resources or use default devices available in the package.
Once your app is wrapped in the DevicePreview widget, you can interact with your application in the preview window. You can click, scroll, and test the app’s responsiveness across different devices and orientations.
Since Device Preview is primarily a tool for development, you may not want to use it in production. To ensure that it doesn’t affect the app’s performance or functionality in production, you can conditionally disable the preview based on the environment.
void main() {
  bool isProduction = bool.fromEnvironment(’dart.vm.product’);
  runApp(
    DevicePreview(
      enabled: !isProduction,
      builder: (context) => MyApp(),
    ),
  );
}
This ensures that the Device Preview is only enabled in development mode and not in the production build.
The Device Preview package is an essential tool for Flutter developers. It helps you ensure that your app is responsive and works well on different devices, screen sizes, and resolutions. Here are some reasons why it is crucial to use this package:
In conclusion, integrating Device Preview into your Flutter development workflow is an efficient way to ensure your app is optimized for all devices. It saves time, enhances the quality of your app’s design, and allows for a more streamlined and enjoyable development process.
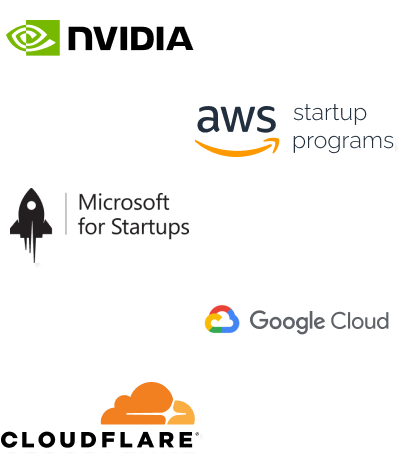
Imagine reducing your operational costs by up to $100,000 annually without compromising on the technology you rely on. Through our partnerships with leading cloud and technology providers like AWS (Amazon Web Services), Google Cloud Platform (GCP), Microsoft Azure, and Nvidia Inception, we can help you secure up to $25,000 in credits over two years (subject to approval).
These credits can cover essential server fees and offer additional perks, such as:
By leveraging these credits, you can significantly optimize your operational expenses. Whether you're a startup or a growing business, the savings from these partnerships ranging from $5,000 to $100,000 annually can make a huge difference in scaling your business efficiently.
The approval process requires company registration and meeting specific requirements, but we provide full support to guide you through every step. Start saving on your cloud infrastructure today and unlock the full potential of your business.